Quality Custom Book Printing for Authors,Publishers and Creators - SeSe Printing


A Step-by-Step Guide to Organizing Recipe Books for Printing
A Step-by-Step Guide to Organizing Recipe Books for Printing
1. Introduction
Turning your favorite recipes into a beautifully printed book is an exciting project that combines creativity, design, and storytelling. Whether you're compiling family favorites, publishing a professional cookbook, or designing a culinary brand product, custom printing lets you bring your vision to life exactly the way you imagine it.
With the help of a trusted printing partner like SESE Printing, you can transform your collection of recipes into a professional, high-quality cookbook that looks as good as the meals it features.
2. Plan Your Recipe Book Concept
Every successful recipe book begins with a clear concept. Think about:
Purpose – Is it a personal family keepsake, a professional publication, or a brand project?
Audience – Are you targeting home cooks, gourmet chefs, or food enthusiasts?
Design Style – Do you prefer a modern minimalist look, rustic farmhouse charm, or an elegant fine-dining aesthetic?
Once you have a direction, decide on the format—softcover, hardcover, or lay-flat binding for easy use in the kitchen. SESE Printing offers multiple material and binding options, helping you match the design and feel of your book to your culinary theme.
3. Gather and Organize Your Recipes
Before you can start designing or printing your recipe book, it's essential to collect and organize all your recipes in a clear, structured way. This step ensures consistency, readability, and smooth progress during the layout and printing stages.
a. Collect All Your Recipes
Start by gathering recipes from all your sources — handwritten notes, family recipe cards, digital files, screenshots, or online links. Centralize them in one place, such as a document folder or a spreadsheet, to make sorting and editing easier.
b. Categorize by Type
Group recipes into logical sections, such as:
Appetizers and Starters
Main Courses
Desserts
Beverages
Sauces and Condiments
Special Diets (e.g., vegan, gluten-free, keto)
This structure helps readers easily find what they're looking for and makes your book flow naturally.
c. Standardize Recipe Formats
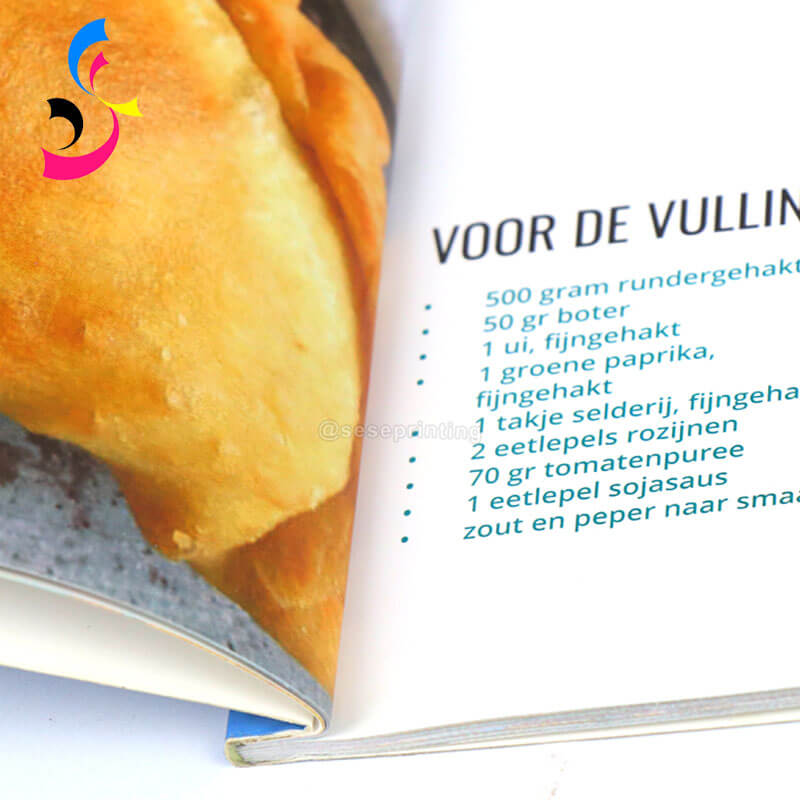
Ensure each recipe follows a consistent structure:
Recipe title
Short description or story
Ingredients (with consistent units of measurement)
Step-by-step instructions
Cooking/preparation time
Serving size
Optional notes or tips
Consistency enhances professionalism and makes the book easier to read.
d. Edit and Test Your Recipes
If possible, test recipes or have others try them to confirm accuracy and clarity. This step minimizes mistakes and ensures every recipe works as intended.
e. Digitize and Backup
Scan handwritten recipes or photograph recipe cards, then store everything digitally. Keep a backup in cloud storage or an external drive to prevent data loss.
By carefully organizing your recipes at this stage, you lay a solid foundation for a visually appealing and functional printed recipe book.
4. Design the Layout and Visual Style
Once your recipes are organized, the next step is to bring them to life through thoughtful design. A well-planned layout and cohesive visual style not only make your recipe book beautiful but also enhance readability and user experience.
a. Choose a Layout Format
Decide on the overall format of your book — will it be portrait or landscape, A4 or square, softcover or hardcover? The format you choose will affect how text and images are placed on each page. For home-use cookbooks, a spiral-bound or lay-flat design can be especially practical.
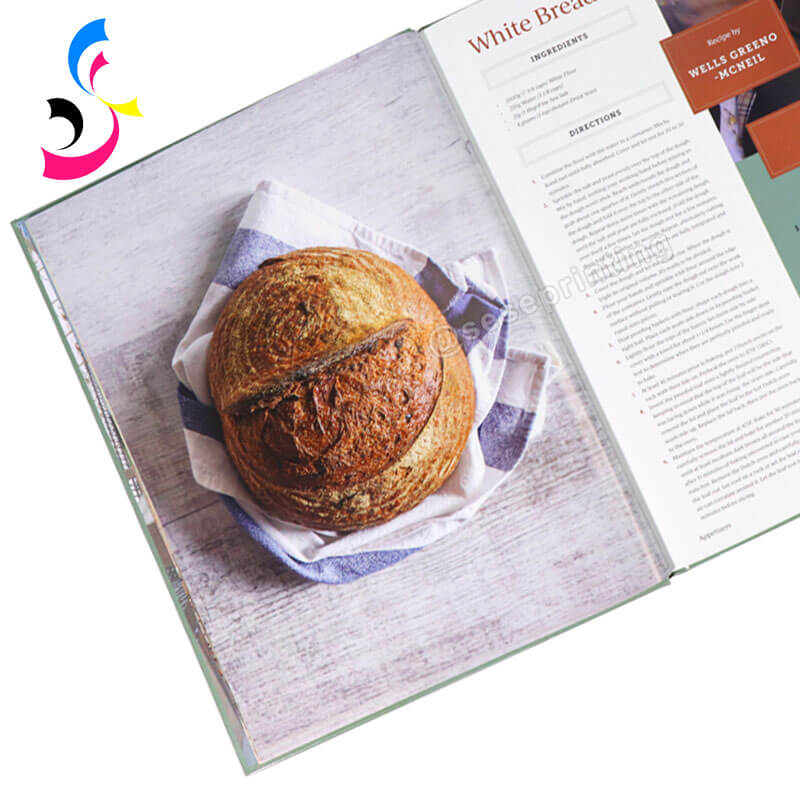
b. Plan the Page Structure
Establish a consistent page template for your recipes. Consider including:
Recipe title and short introduction at the top
Ingredients in a clear, column-style layout
Step-by-step instructions beside or below the ingredients
Optional space for cooking tips or personal notes
High-quality photos to illustrate each dish
Use white space strategically to avoid overcrowding the page and make it easy for readers to follow along while cooking.
c. Select Fonts and Typography
Choose fonts that are both stylish and legible. A combination of a clean serif font for titles and a simple sans-serif font for body text often works well. Keep font sizes consistent throughout the book — larger for headings, smaller for ingredient lists or notes.
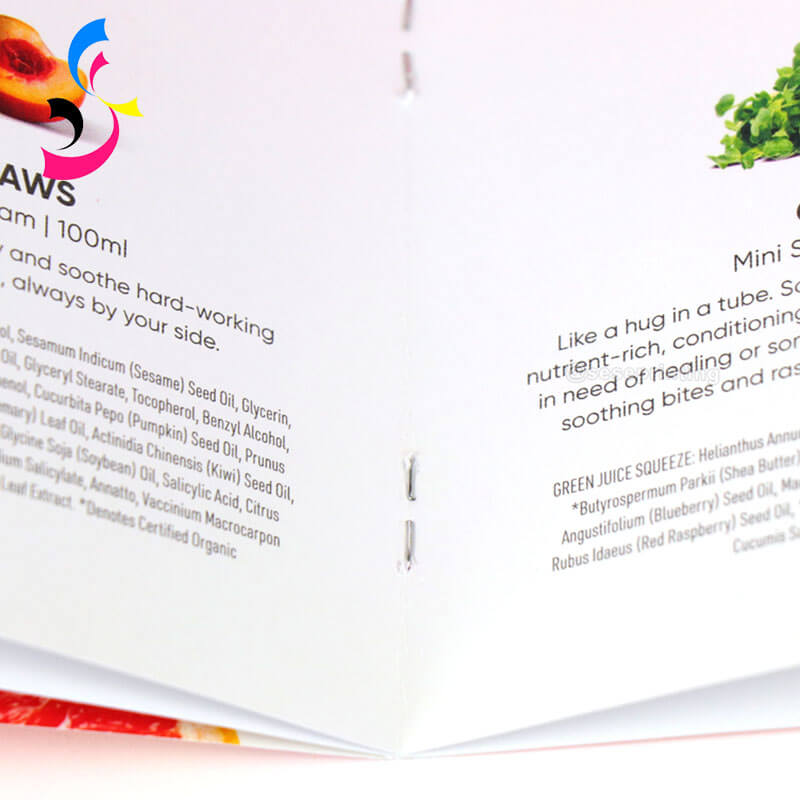
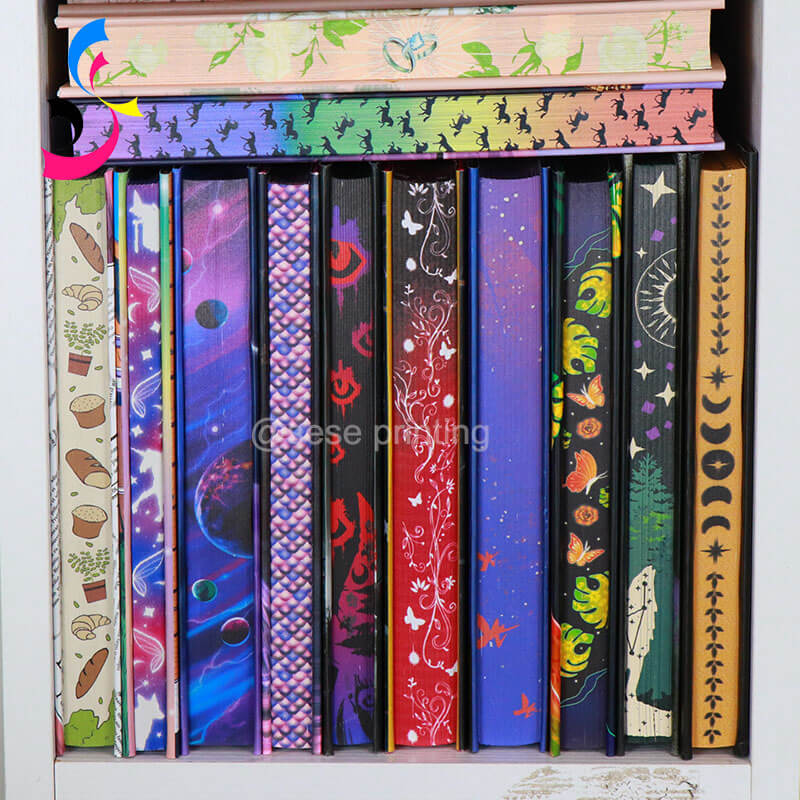
d. Incorporate Visual Elements
Enhance your recipe book's personality with visuals such as:
Full-color food photography
Illustrations or icons (e.g., utensils, ingredients)
Decorative borders or background textures
Section dividers to separate categories
Ensure that all images are high resolution (at least 300 DPI) to maintain quality in print.
e. Choose a Color Palette
Select a color scheme that reflects your theme — for example:
Warm, earthy tones for traditional family cookbooks
Bright, vibrant colors for modern or children's recipe books
Minimalist neutrals for elegant, high-end designs
f. Design a Cohesive Cover
The cover is the first impression of your recipe book. Include your title, subtitle, author name, and an appealing image that reflects the book's theme. Use consistent fonts and colors that match your interior design.
A thoughtfully designed layout and visual style will give your recipe book a polished, professional look — making it not only functional but also a joy to read and display.
5. Select the Right Printing Specifications
Choosing the correct printing specifications is essential to achieving the professional look and feel you envision for your recipe book. The right materials, finishes, and binding styles will enhance durability, readability, and overall aesthetic appeal.
a. Choose the Book Size
Your book's size will influence layout design, printing cost, and usability. Common sizes include:
8.5" x 11" (Letter size) – great for cookbooks with large photos and easy-to-read text.
7" x 10" or 6" x 9" – more compact and convenient for kitchen use.
Square formats (8" x 8" or 9" x 9") – visually modern and perfect for showcasing photography.
Consider how your target audience will use the book — for example, a countertop cookbook might benefit from a larger, lay-flat format.
b. Select Paper Type and Weight
Paper choice has a big impact on the look and usability of your recipe book:
Matte-coated paper: reduces glare and fingerprints, ideal for reading under kitchen lights.
Gloss-coated paper: enhances photo quality and color vibrancy.
Uncoated paper: gives a natural, textured feel, perfect for rustic or eco-friendly designs.
Recommended weight: 100–170 gsm for inside pages; 250–350 gsm for the cover.
c. Decide on Binding Style
Different binding methods suit different needs:

Perfect binding (paperback) – professional and cost-effective for standard cookbooks.
Saddle stitching – suitable for shorter recipe booklets.
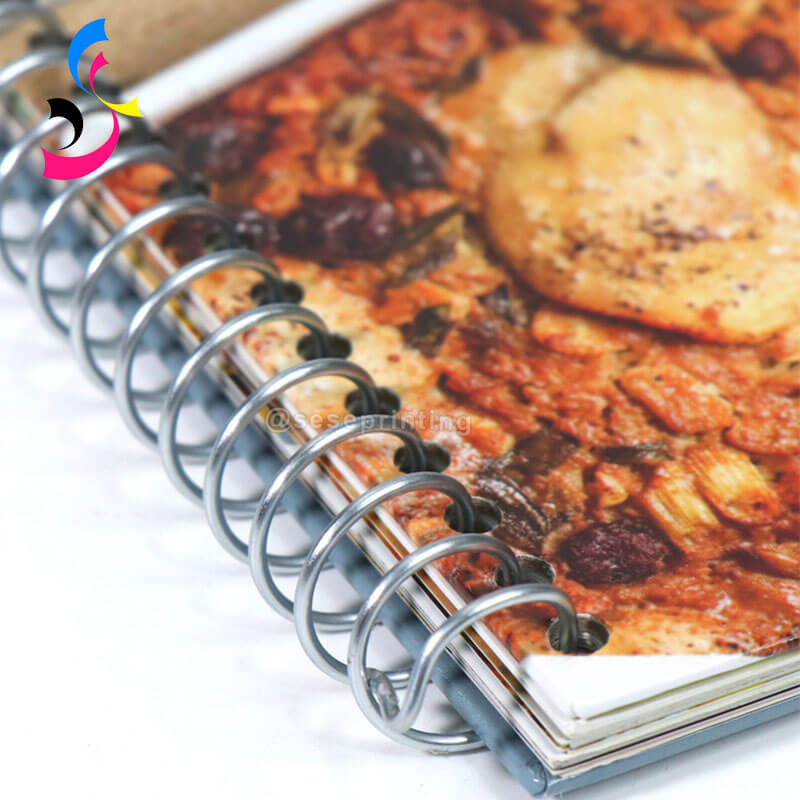
Wire-O or spiral binding – allows the book to lay flat for hands-free cooking.
Hardcover binding – ideal for premium, giftable editions.
d. Consider Special Finishes
Enhance your book's appeal with special printing techniques:
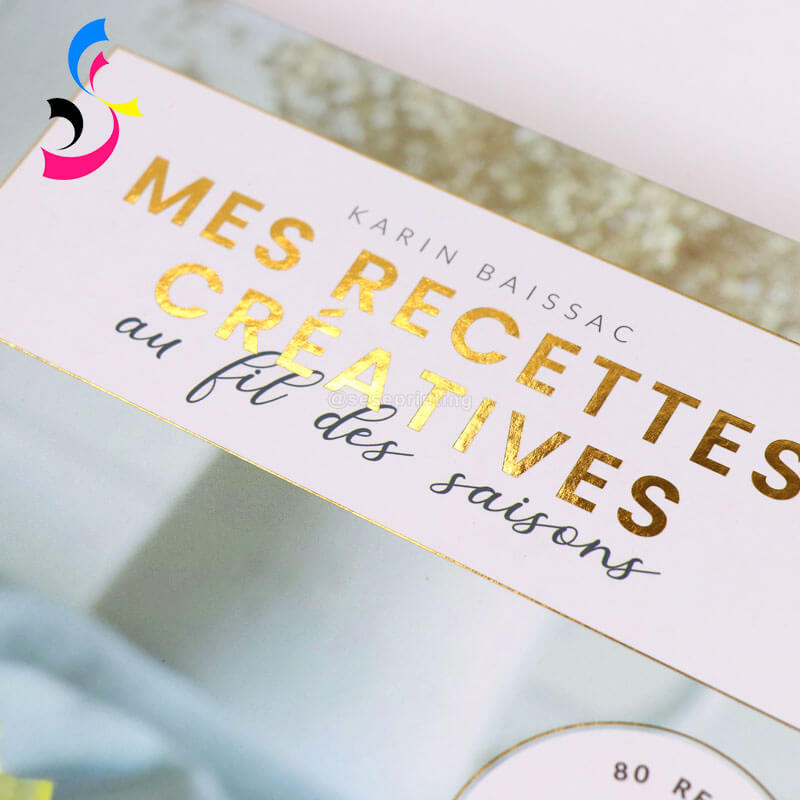


Foil stamping for metallic titles or logos.
Spot UV for glossy highlights on matte covers.
Embossing or debossing for tactile texture.
Sprayed edges or colored endpapers for a stylish, custom look.
These details can make your recipe book stand out as a keepsake rather than just a kitchen tool.
e. Choose Printing Type: Digital vs. Offset
Digital printing is cost-effective for small batches and quick turnarounds.
Offset printing offers superior quality and lower unit costs for large runs.
f. Environmental Considerations
Opt for FSC-certified paper or soy-based inks if sustainability is important to you or your brand.
By carefully selecting each printing specification, you ensure your recipe book not only looks beautiful but also meets practical needs — creating a high-quality product that reflects your vision and brand identity.
6. Proof and Edit Before Printing
This step is your final quality control checkpoint before your book goes to print. Rushing it can lead to costly and permanent mistakes. A meticulous review is non-negotiable.
Focus on these three key actions:
Conduct a Thorough Text Review: Scrutinize every element for errors. Check for typos, grammatical mistakes, and inconsistent formatting across all recipes. Pay special attention to the accuracy of measurements, ingredient lists, and cooking times/temperatures, as these errors directly impact the recipe's success.
Check Layout and Visuals: Ensure all photos and graphics are correctly placed and appear in high resolution(300 dpi recommended). Verify that page numbers in the Table of Contents are accurate and that no text or important elements are cut off by the trim lines.
Get a Second (and Third) Opinion: Have someone else proofread the entire manuscript. Fresh eyes are excellent at catching errors you may have overlooked. For the best results, print a physical copy and review it on paper; you will be surprised at what you miss on a screen.
Taking the time to proofread carefully is the simplest way to guarantee a professional and error-free final product.
7. Work with a Custom Printing Partner
A reliable printing partner makes all the difference. SESE Printing specializes in custom book printing, offering personalized solutions for every type of cookbook.
By choosing SESE Printing, you benefit from:
Expert Guidance: Our team can advise on the best paper stock, binding, and finishing options to match your vision and budget.
High-Quality Materials: We offer a range of premium papers and durable binding methods to ensure your cookbook can withstand kitchen splatters and years of use.
Customization Freedom: Whether you want a unique trim size, a custom foil-stamped cover, or specific layout requirements, sese printing can accommodate your needs.
A Seamless Process: From uploading your file to tracking your order, our service is designed to be straightforward and supportive.
SESE Printing's experienced team ensures your recipe book captures your brand's essence while maintaining the highest quality standards.
8. Final Touches and Production
You're in the home stretch! This phase is about preparing your final files and handing them off to your printing partner for production.
Final File Preparation: Export your document as a high-resolution, print-ready PDF. Ensure all fonts are embedded and images are at the correct resolution (typically 300 DPI). Carefully follow the specific technical guidelines provided by your printer.
Place Your Order: Upload your final PDF files to your chosen printing partner. Select your final options, including the print quantity, paper type, and binding style. Double-check your order summary before proceeding.
Review the Proof: Many professional printers will provide a digital or physical proof for your final approval. Examine this proof meticulously—it's your last chance to catch any errors before the entire run is printed.
Production and Delivery: Once you approve the proof, the printing process begins. Your printer will handle the printing, binding, and finishing of your books. All that's left for you to do is await the delivery of your beautifully custom-printed recipe books.
9. Conclusion
Creating a recipe book is more than just printing recipes—it's about preserving memories, sharing flavors, and expressing creativity. With thoughtful organization and the right printing choices, you can turn your culinary ideas into a beautiful, lasting product.
Partnering with SESE Printing gives you the confidence of professional craftsmanship, high-quality materials, and truly custom options for your cookbook. From concept to completion, we help you bring your recipe collection to life — in a form worth savoring forever.

E-mail: sales01@seseprinting.com
Mobile phone: +86-13570912663
WhatsApp: 008613501482344
Tel: +86-020-34613569
Add: 702 No. 21 Huizhong Road, Shiqiao St, Panyu District. Guangzhou city, Guangdong Province. China