Quality Custom Book Printing for Authors,Publishers and Creators - SeSe Printing


How Can You Make a Comic Book
How Can You Make a Comic Book?
Creating a comic book is a thrilling journey that blends art, storytelling, and design into a captivating visual experience. Whether you're an aspiring graphic novelist, an indie creator, or a publisher, making your own comic book requires a balance of creativity and production strategy. Here's a step-by-step guide to help you turn your comic book dream into reality.
1. Develop Your Story and Characters
Every great comic book starts with a compelling story and unforgettable characters. This is the foundation of your comic creation journey.
Craft a Strong Plot
Define your main storyline—what's the central conflict or goal?
Think in arcs: beginning (setup), middle (confrontation), and end (resolution).
Break the story into manageable scenes or chapters that translate well into panels.
Create Memorable Characters
Design heroes, villains, and supporting characters with distinct traits.
Give each character a backstory, motivations, and visual style.
Consider how their design will appear repeatedly across panels—simple yet expressive designs work best for comics.
Write a Comic Script
Unlike traditional novels, comic scripts include panel descriptions, dialogue, and visual cues.
Specify the number of panels per page and the action in each one.
Keep dialogue short and impactful—readers absorb both text and visuals at once.
Plan with Printing in Mind
Think about your page count early—many custom printers require multiples of 4 or 8 pages.
Balance text and visuals for optimal readability on different custom page sizes (like 6.625" × 10.25" or A5).
Use standard or custom trim sizes that match your visual storytelling goals and reader experience.
2. Sketch and Design Your Comic Panels
Start with Thumbnail Sketches
Create rough page layouts to plan your panel flow.
Focus on pacing, action direction, and how dialogue fits in each panel.
Thumbnails help you see the overall rhythm before committing to final artwork.
Choose a Panel Structure
Use a variety of panel sizes to enhance storytelling—large panels for impact, small ones for fast-paced action.
Experiment with panel shapes: grids, full-page spreads, diagonal cuts, or custom frames to match mood and movement.
Design Your Artwork
Finalize character designs and backgrounds.
Use traditional tools or digital programs like Clip Studio Paint, Adobe Photoshop, or Procreate.
Pay attention to:
Line weight for depth and emphasis
Facial expressions for emotional storytelling
Background details for setting the scene
Add Dialogue and Lettering
Use clear, readable fonts or hand lettering.
Ensure word balloons are placed logically and don't overcrowd the artwork.
Stick to industry-standard font sizes (around 9–12pt for body text) and keep text inside safe margins for custom printing.
3. Choose Your Comic Book Format
The format you choose affects everything from how your comic is printed and bound to how it's perceived by readers. Customizing your comic book format gives you full creative control and allows your story to stand out.
Select Your Book Type
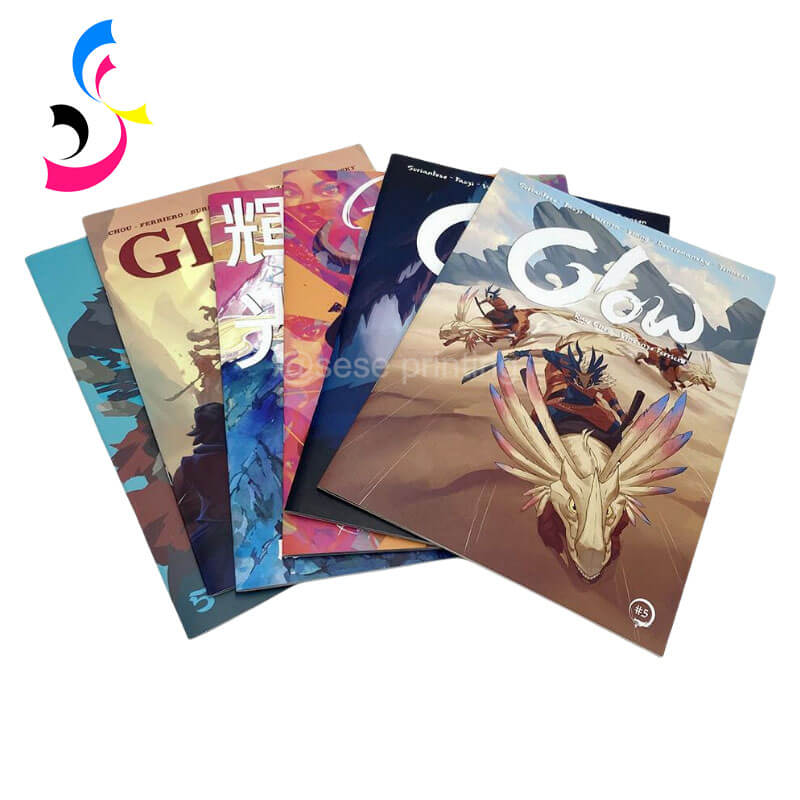
Single-Issue Comic: Typically 24–32 pages, saddle-stitched, great for ongoing series.
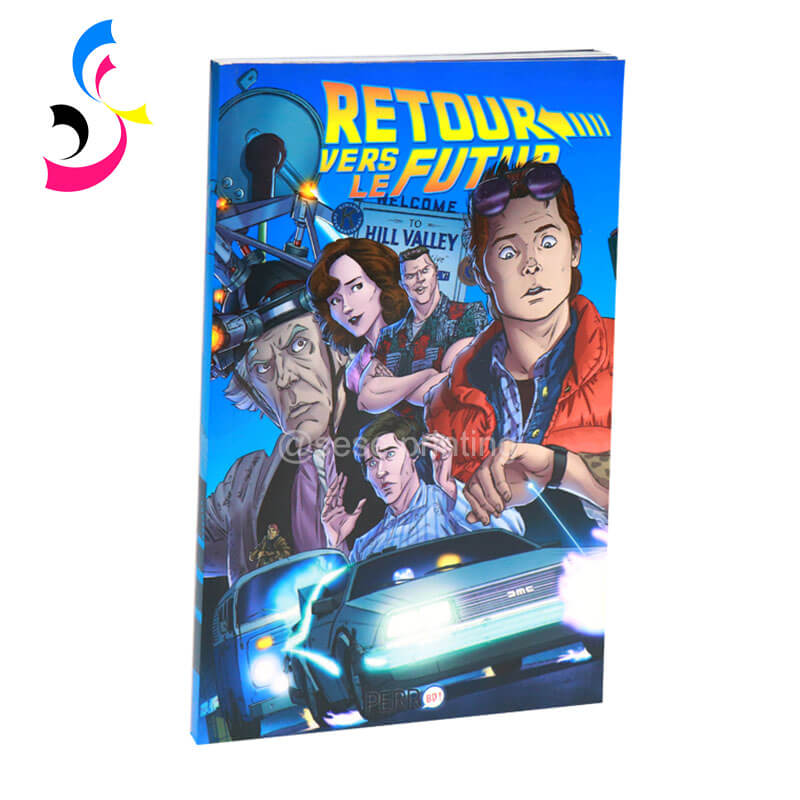
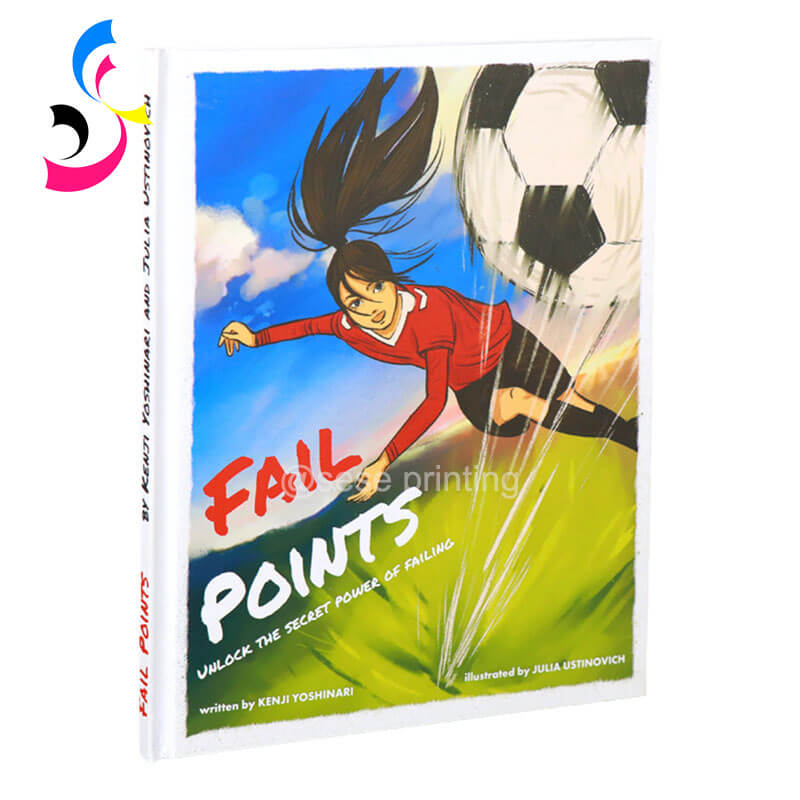
Graphic Novel: Longer format (50+ pages), often perfect-bound or hardcover—ideal for standalone stories or collected issues.
Manga-Style Comic: Smaller trim sizes (A5 or B6), read right-to-left, usually black-and-white interior.
Webcomic Compilation: Collect your digital episodes into a print edition with a custom layout.
Choose a Custom Trim Size
Standard U.S. comic size: 6.625" × 10.25"
Manga size: 5" × 7.5" or A5
Or go fully custom: square formats, oversized editions, or mini zines
Custom sizes are perfect for showcasing unique art styles and creative layouts.
Decide on Binding Type
Saddle Stitching: Stapled along the spine, best for comics under 64 pages.
Perfect Binding: Flat spine, professional look—ideal for graphic novels or collected editions.
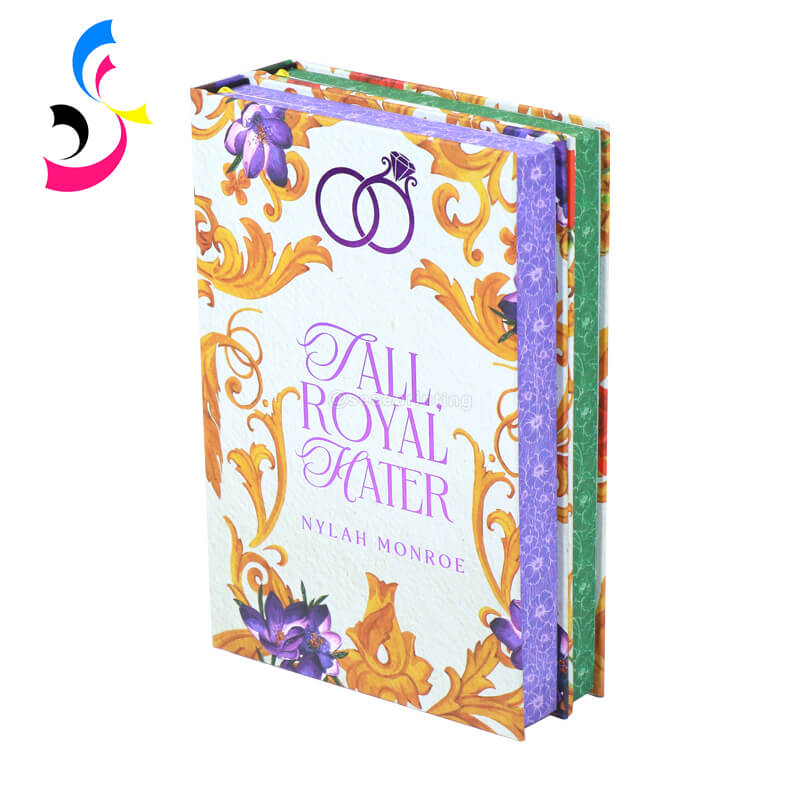
Hardcover Binding: Durable and premium; perfect for special editions, collector's volumes, or crowdfunding rewards.
Spiral or Wire-O Binding: Less common but useful for sketchbook-style comics or interactive content.
Tailor to Your Audience
Kids' comics? Go with durable binding and thick pages.
Mature or indie content? Try minimalist design or black-and-white interiors with textured paper.
Collectors? Offer deluxe editions with extras like slipcases, bookmarks, or signed covers.
4. Customize the Printing Materials
Once your comic is designed and formatted, it's time to choose the materials that will bring your physical book to life. Customizing your printing materials helps you achieve the perfect balance of durability, visual impact, and reader experience.
Interior Paper Options
Glossy Paper: Enhances full-color artwork with vibrant tones—ideal for superhero or sci-fi comics.
Matte/Uncoated Paper: Softer, more natural feel—popular for indie, noir, or vintage-style comics.
Silk/Satin Paper: A subtle sheen for a premium feel without too much glare.
Paper Weight: Choose 80–150gsm for interior pages depending on the level of durability and opacity you want.
Cover Paper Options
Cardstock Covers: Rigid and protective, usually between 200–350gsm.
Soft Touch Lamination: Velvet-smooth finish that adds elegance and durability.
Gloss Lamination: High-shine finish that enhances colors.
Matte Lamination: Subtle and sophisticated; pairs well with minimalist cover designs.
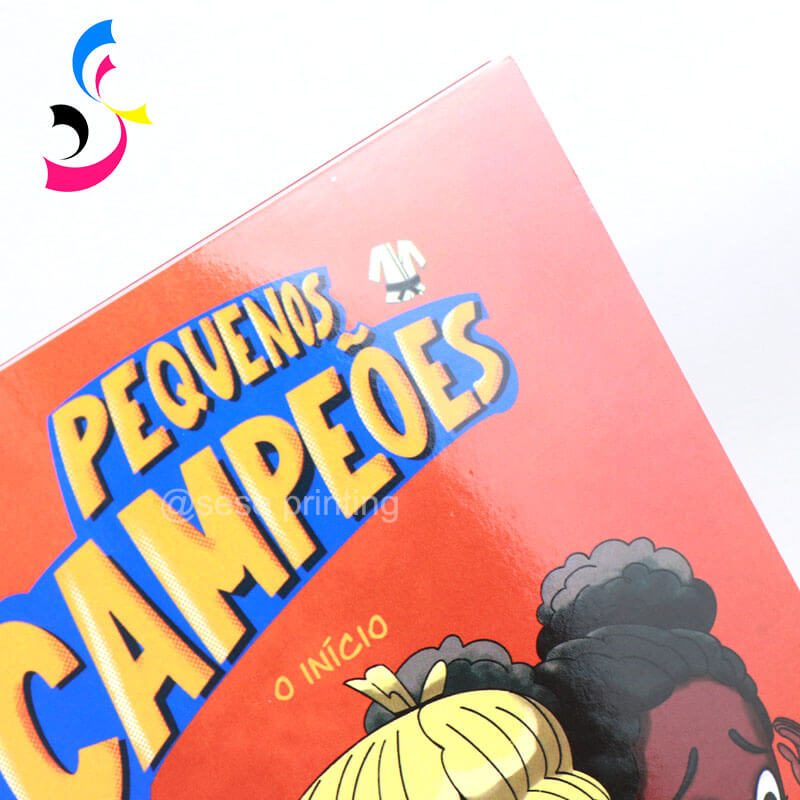
Special Cover Finishes
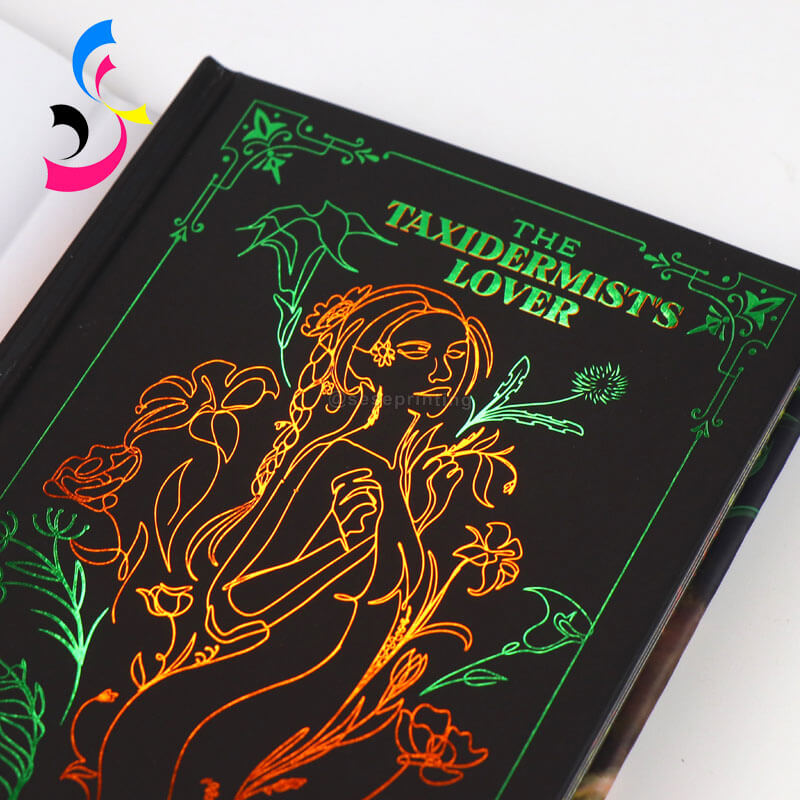
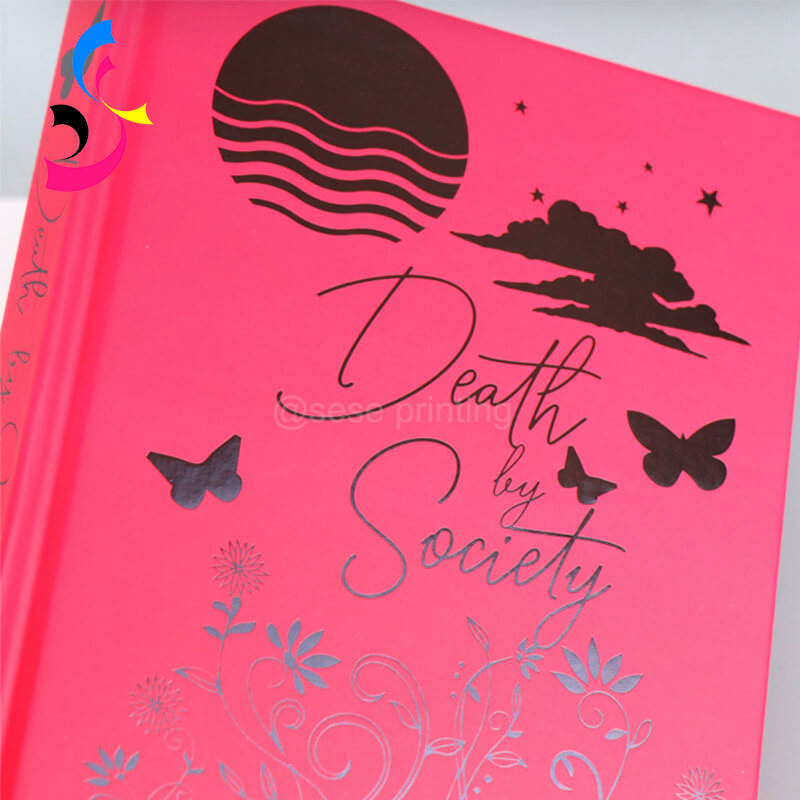
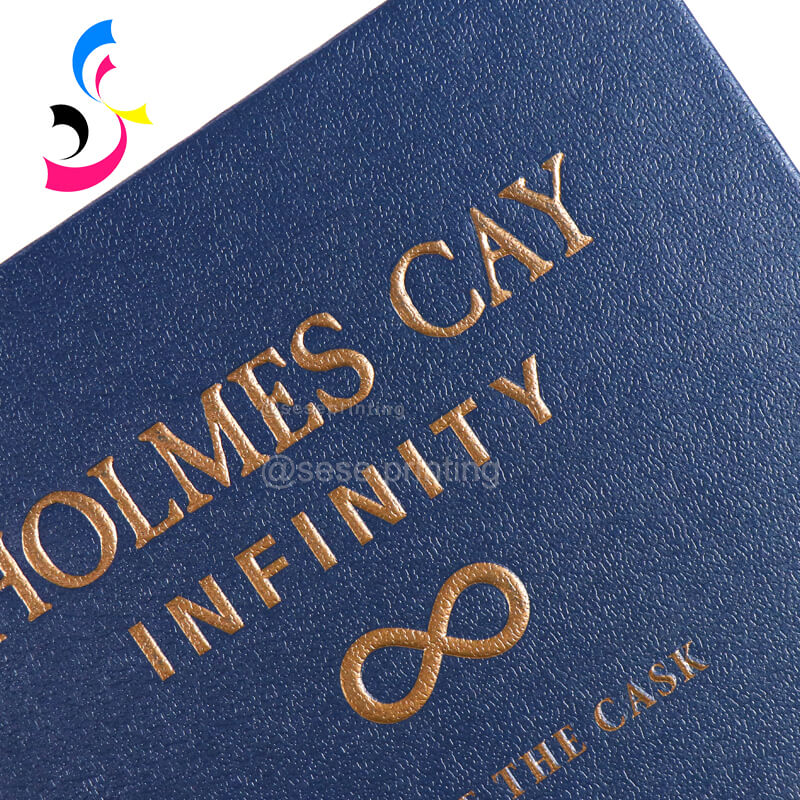
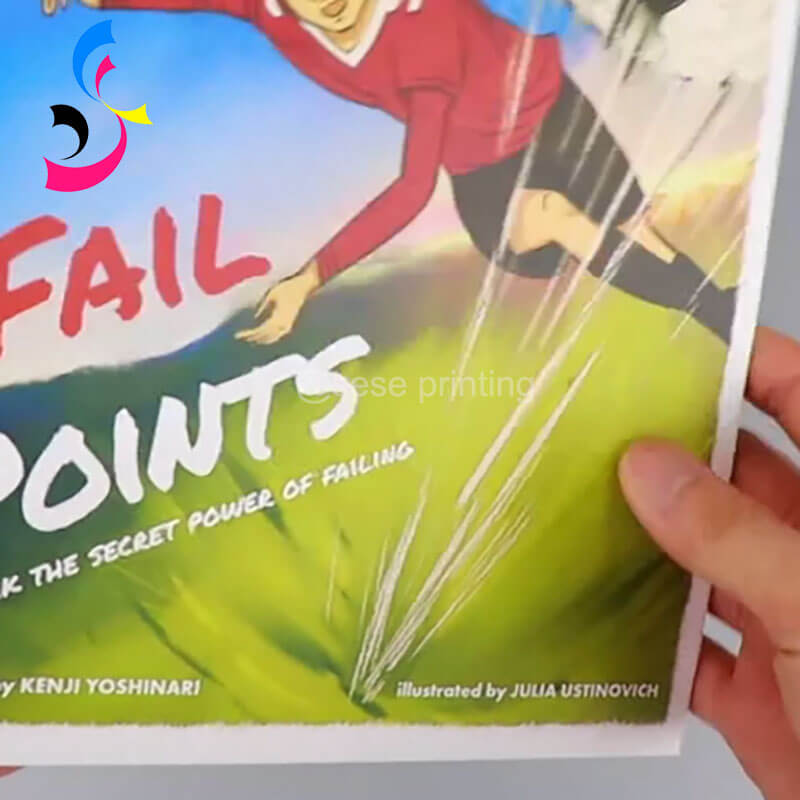
Foil Stamping: Add metallic accents in gold, silver, or holographic colors for logos, titles, or character outlines.
Spot UV Coating: Highlights specific areas like titles or focal art for a glossy contrast effect.
Embossing/Debossing: Creates a raised or recessed texture on logos or designs.
Die-Cutting: Add shaped windows or custom cutouts for an interactive look.
Custom Features for Collector Appeal
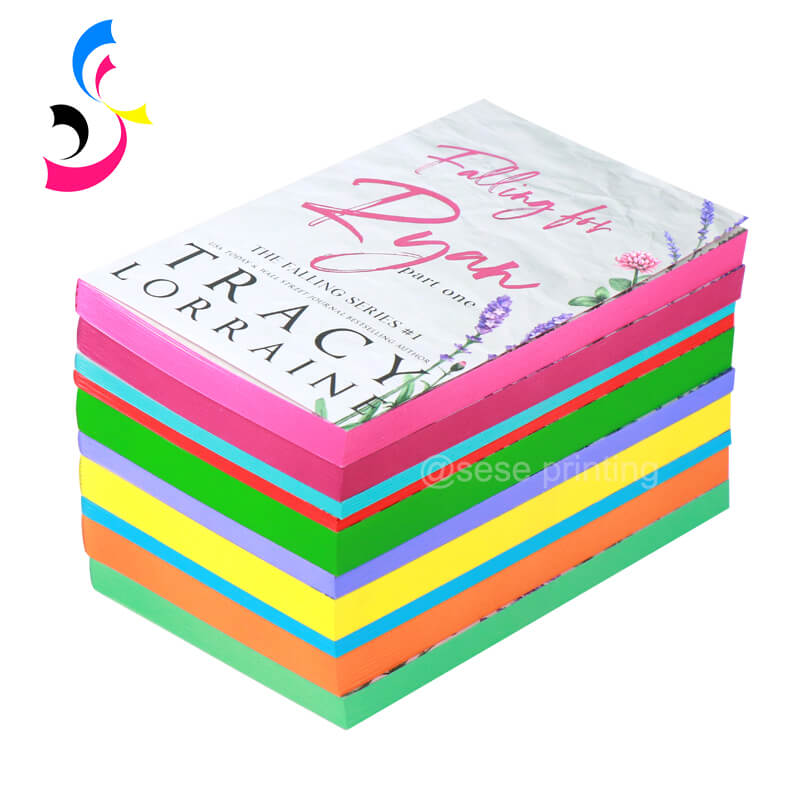
Sprayed Edges: Solid or patterned edge coloring adds a premium look.
Stenciled Edges: Add patterns, symbols, or gradients for a unique collector's item.
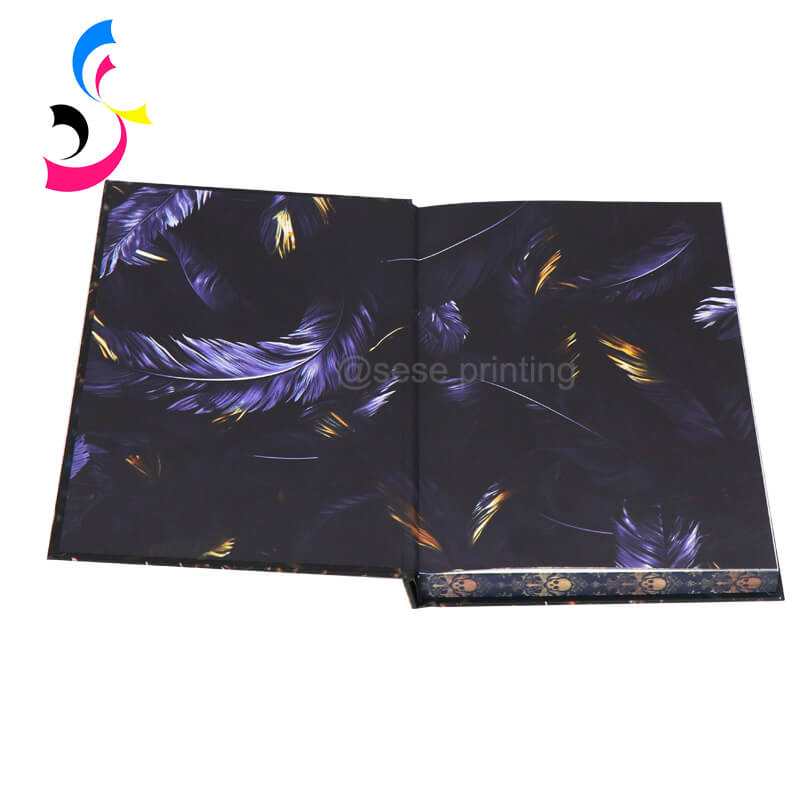
Endpapers: Printed or colored endpapers add a polished finish to hardcovers.
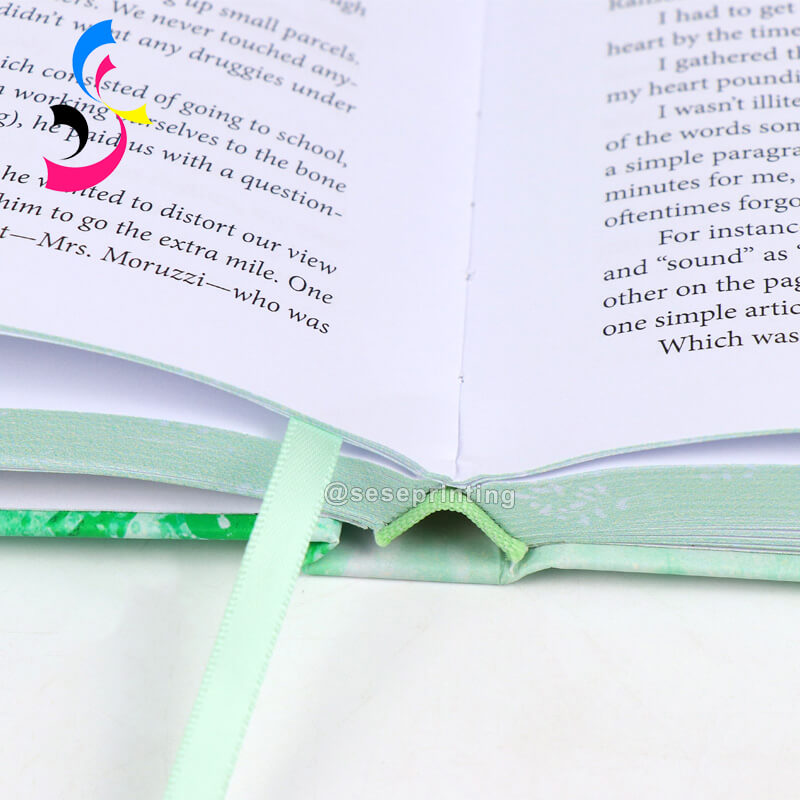
Bookmark Ribbons: A simple touch of luxury for hardcover editions.
5. Work with a Custom Printing Company
Choosing the right printing partner is crucial to turning your vision into a professionally printed comic book. Whether you're an indie artist, a publishing house, or a Kickstarter creator, Sese Printing Company offers expert guidance and premium custom solutions from concept to completion.
Why Choose Sese Printing Company?
Full Customization, No Limits
From standard formats to fully custom sizes, sprayed edges to holographic foil—Sese Printing delivers endless options tailored to your brand, genre, and audience.
Premium Print Quality
Using advanced CMYK offset and digital printing, we ensure your artwork appears sharp, vivid, and true to your original design.
Low Minimum Order Quantity (MOQ)
Whether you're printing 300 copies for a niche release or 5,000 for wide distribution, Sese supports your goals with flexible order quantities.
Expert Material Selection
Choose from a wide range of cover stocks, interior paper finishes, binding types, and specialty add-ons like spot UV, die-cuts, embossing, and more—all with expert recommendations to match your story's tone.
Reliable Worldwide Shipping
We ship globally with secure packaging and tracking, ensuring your comics arrive in perfect condition—on time and on budget.
6. Prepare Your Files for Print
Use the Right Resolution and Color Format
Set your artwork to 300 DPI (dots per inch) for sharp, high-quality print output.
Convert all colors to CMYK (Cyan, Magenta, Yellow, Black)—the industry standard for full-color printing.
Avoid using RGB color mode, which is meant for screens and may result in color shifts during print.
Set the Correct Trim Size and Bleed
Design your comic pages to your final custom trim size (e.g., 6.625" × 10.25", A5, or a unique size).
Add bleed to all sides (usually 0.125" or 3mm) to allow for edge trimming without white borders.
Include safe zones: keep important text and artwork at least 0.25" (6mm) inside the trim edge.
Choose the Right File Format
Save your files as PDF/X-1a for professional printing compatibility.
Ensure all fonts are embedded or converted to outlines to prevent text errors.
Avoid submitting Word, PSD, or JPEG files unless specifically requested.
Organize Your Pages Properly
Submit pages in single-page format (not spreads), unless your comic includes double-page layouts.
Label pages clearly (e.g., 01_CoverFront.pdf, 02_InsidePage1.pdf, etc.).
For books with multiple issues or volumes, organize chapters into folders with logical naming.
Layer Management for Special Effects
Use separate layers to mark areas for:
Spot UV
Foil stamping
Embossing/debossing
Die cuts
Include a key or notes to indicate which elements receive which effect.
Request a Proof Copy
Always request a printed or digital proof before bulk production.
A proof lets you verify color accuracy, trim lines, and finishes, reducing the risk of costly errors.
Let Sese Printing Assist You
At Sese Printing Company, our prepress team reviews every file before production. We offer:
Free file checks and recommendations
Templates and bleed guides
Sample materials and binding suggestions
Whether you're printing a small indie comic or a collector's edition hardcover, we make sure your files are optimized for success.
7. Proof and Approve Your Comic Book
Before sending your comic book to full production, it's essential to proof and approve a sample version. This final step allows you to catch errors, review the print quality, and ensure your vision is fully realized.
What Is a Print Proof?
A proof is a preliminary version of your comic book, produced using the same materials and specifications as your final order. It shows how the finished product will look in terms of:
Color reproduction
Trim accuracy
Binding alignment
Paper quality and texture
Special finishes like foil, UV, embossing, or sprayed edges
Types of Proofs
Digital Proof (PDF): Quick and convenient. Review layout, bleed, and text accuracy.
Printed Hard Copy: Ideal for color accuracy and special finish checks—what you see is what you'll get.
Mock-Up Sample: For complex custom projects, Sese can provide a bound mock-up to review the complete package.
What to Check Before Approval
Page order and numbering
Text clarity and font consistency
Color vibrancy and contrast
Trim lines and bleed alignment
Cover effects and spine text positioning
Binding strength and page alignment
Spot UV or foil placement (if applied)
Make Adjustments if Needed
If you spot any issues, work with your printing partner to adjust the files. Sese Printing offers guidance and support during this stage to make sure every detail meets your expectations.
Approve with Confidence
Once you're satisfied with the proof:
Approve it for mass production.
Your comic book will move into the final printing and finishing phase.
Why Proofing Matters with Custom Printing
With so many customizable options—trim size, cover treatments, specialty finishes, paper types—proofing ensures your comic looks exactly as intended.
8. Market and Sell Your Comic Book
Now it's time to share your creation with the world! Use platforms like:
Etsy, Amazon, and Kickstarter for sales
Comic cons, book fairs, and local stores for distribution
Social media and websites to build your brand and fanbase
Ready to Print Your Comic Book?
Partner with Sese Printing to ensure your comic book stands out with custom features and flawless production. Whether you're printing a superhero saga, a children's adventure, or an indie graphic novel, Sese is your trusted partner for custom comic book printing.
Contact us today and bring your story to life—panel by panel.

E-mail: sales01@seseprinting.com
Mobile phone: +86-13570912663
WhatsApp: 008613501482344
Tel: +86-020-34613569
Add: 702 No. 21 Huizhong Road, Shiqiao St, Panyu District. Guangzhou city, Guangdong Province. China